4. Creating VMs
The Ansible control host that was set up in Section Bootstrapping a VM Host as an Ansible Controller can be used to control a set of virtual machines, bare metal hosts, or a combination. It all depends on what services you wish to provide and how you chose to deploy them.
There are several options for creating a hybrid “private-cloud” comprised from a combination of bare-metal hosts, virtual machine hosts, and containerized microservices. This flexibility comes at a cost in added complexity and configuration management, but does afford for better linear horizontal scalability and/or addition of compute or storage resources as the system grows in size.
Hint
For the bigger picture of architectural design options considered while designing and building the DIMS system components, see Section DIMS architectural design of dimsad.
Figure Pure Virtual Machine Architecture shows a design similar to that being described in this and the previous chapters. The Host is shown at the bottom, comprised of a highly-provisioned server, a base operating system and a virtual machine hypervisor. Each virtual machine Guest is then created and installed with its own combination of base operating system, libraries and binaries, and application software. In this illustration, we see a single physical computer with a total of six servers (4 Ubuntu Linux, 1 Red Hat Enterprise Linux, and 1 Debian Linux).
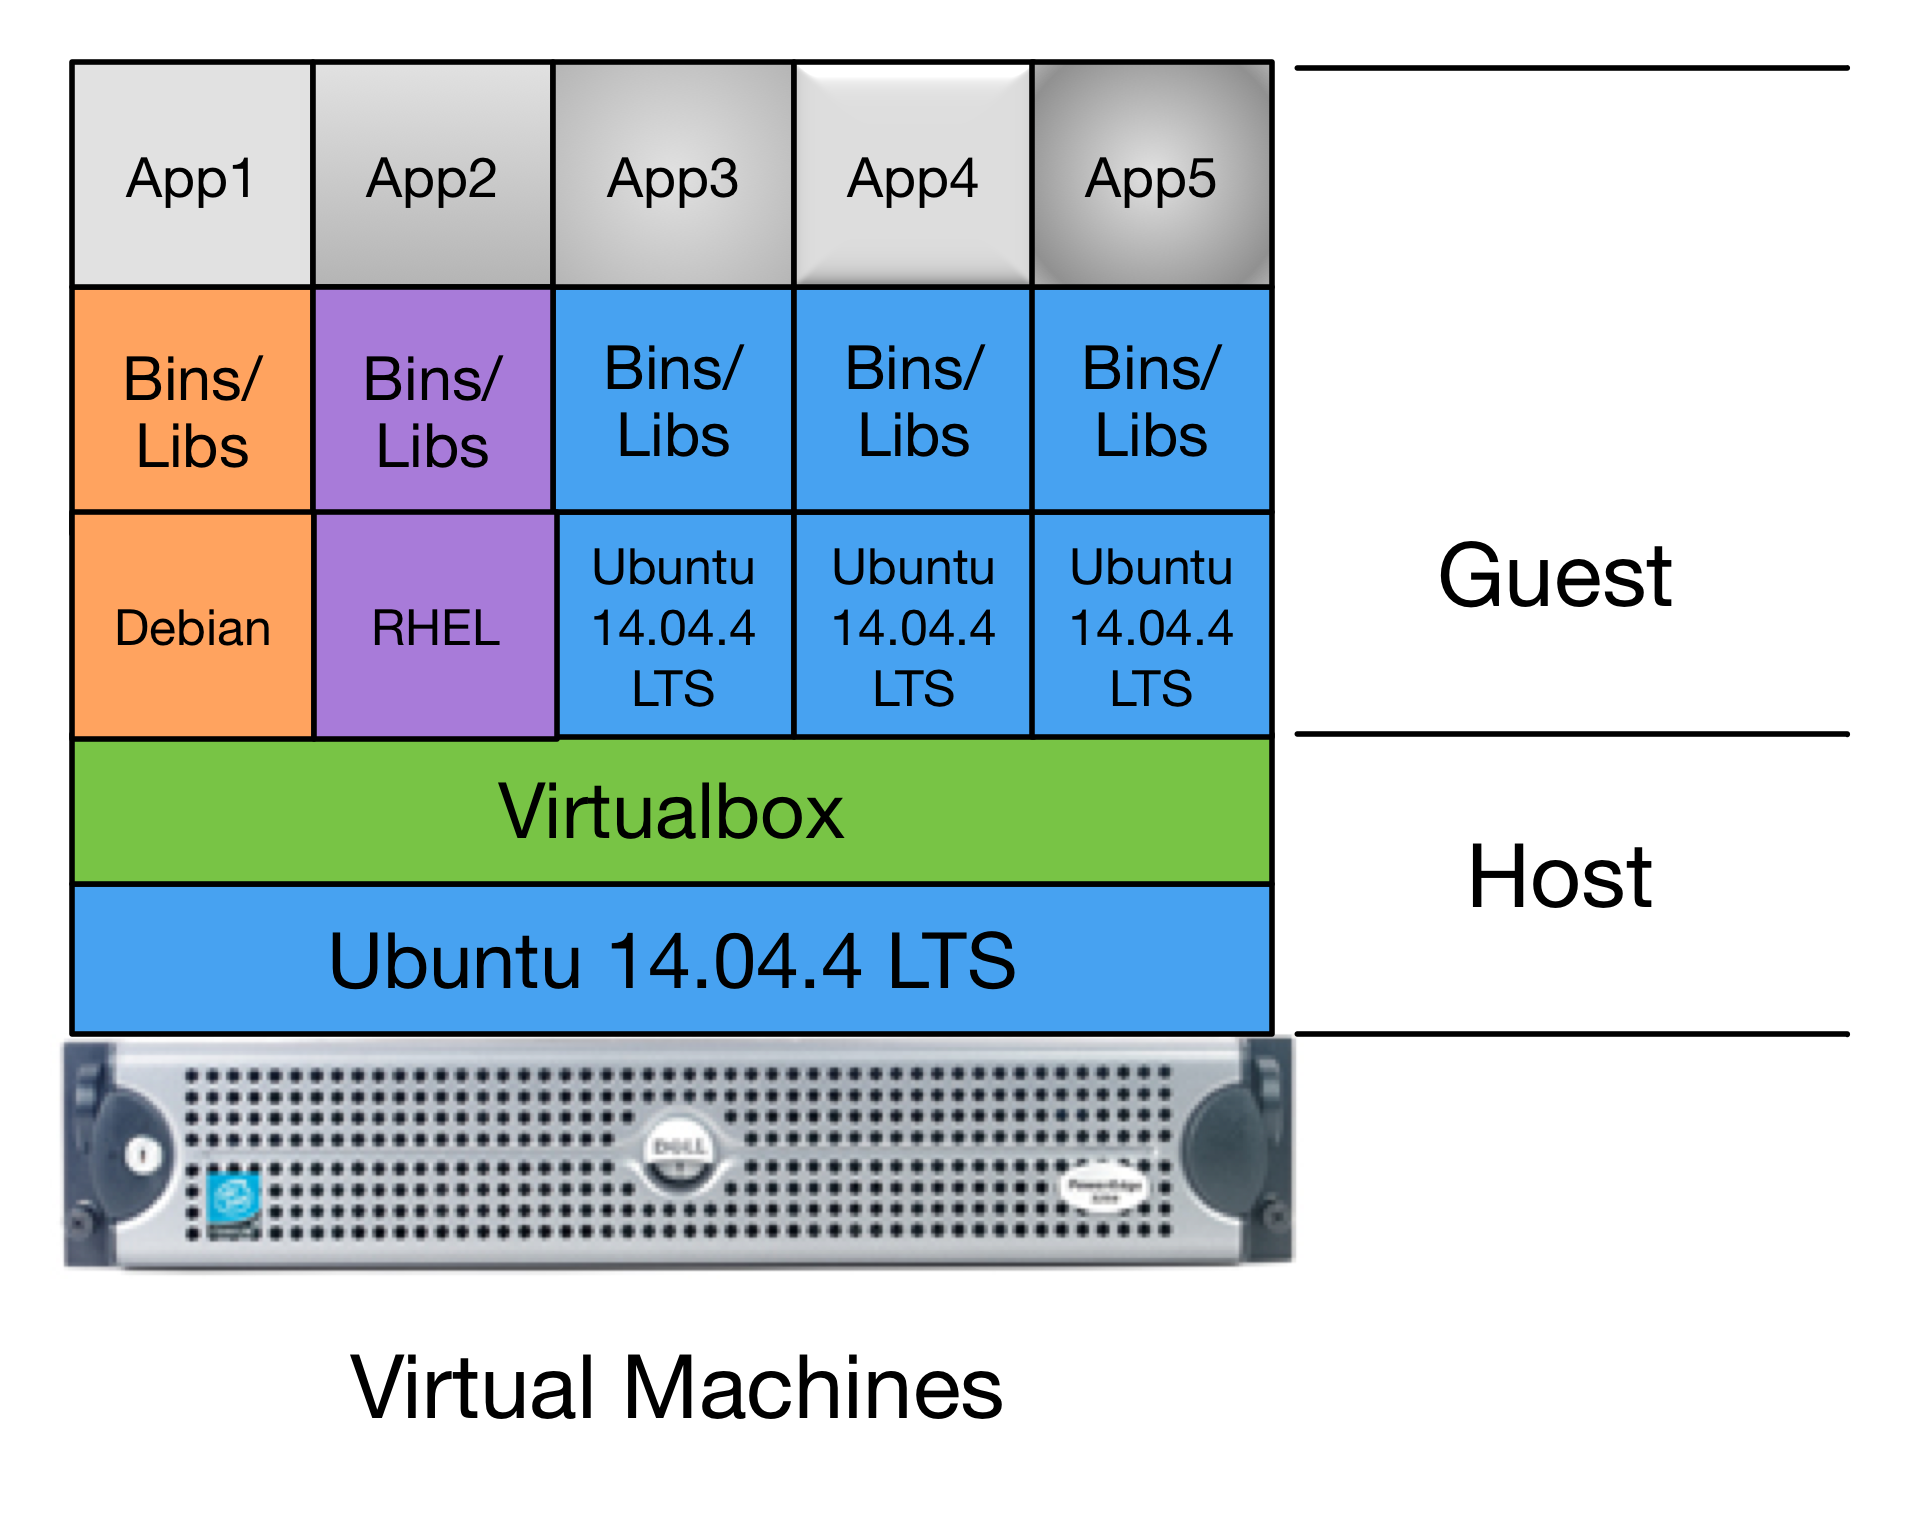
Pure Virtual Machine Architecture
The deployment we are currently creating is even simpler than Figure
Pure Virtual Machine Architecture. There is the one bare-metal server acting as the
Ansible control host and Virtualbox hypervisor (dellr510) and just two
virtual machine guests (yellow and purple, a.k.a. the trident
group). These guests will use bridged interfaces so they each have an
Internet-facing IP address and domain name, as well as a private virtual LAN
that is shared with the host for Ansible control and administration. For
increased security, the bare-metal VM host will only be accessible through an
internal VLAN.
4.1. Manual Installation of Virtual Machines
This section walks through the process of manually creating two
Debian 8.5 virtual machines to serve as Trident trust group
portal servers. This deployment combines all of the Trident
related services into one virtual machine. One of the two
vitual machines (yellow) will serve as the “production”
portal, and the other identical system (purple) will
serve as a development/test server. The latter can be used to
experiment with upgrades, test Ansible playbook changes,
train system administrators and trust group administrators.
Start the Virtualbox management GUI in the Remmina VNC window.
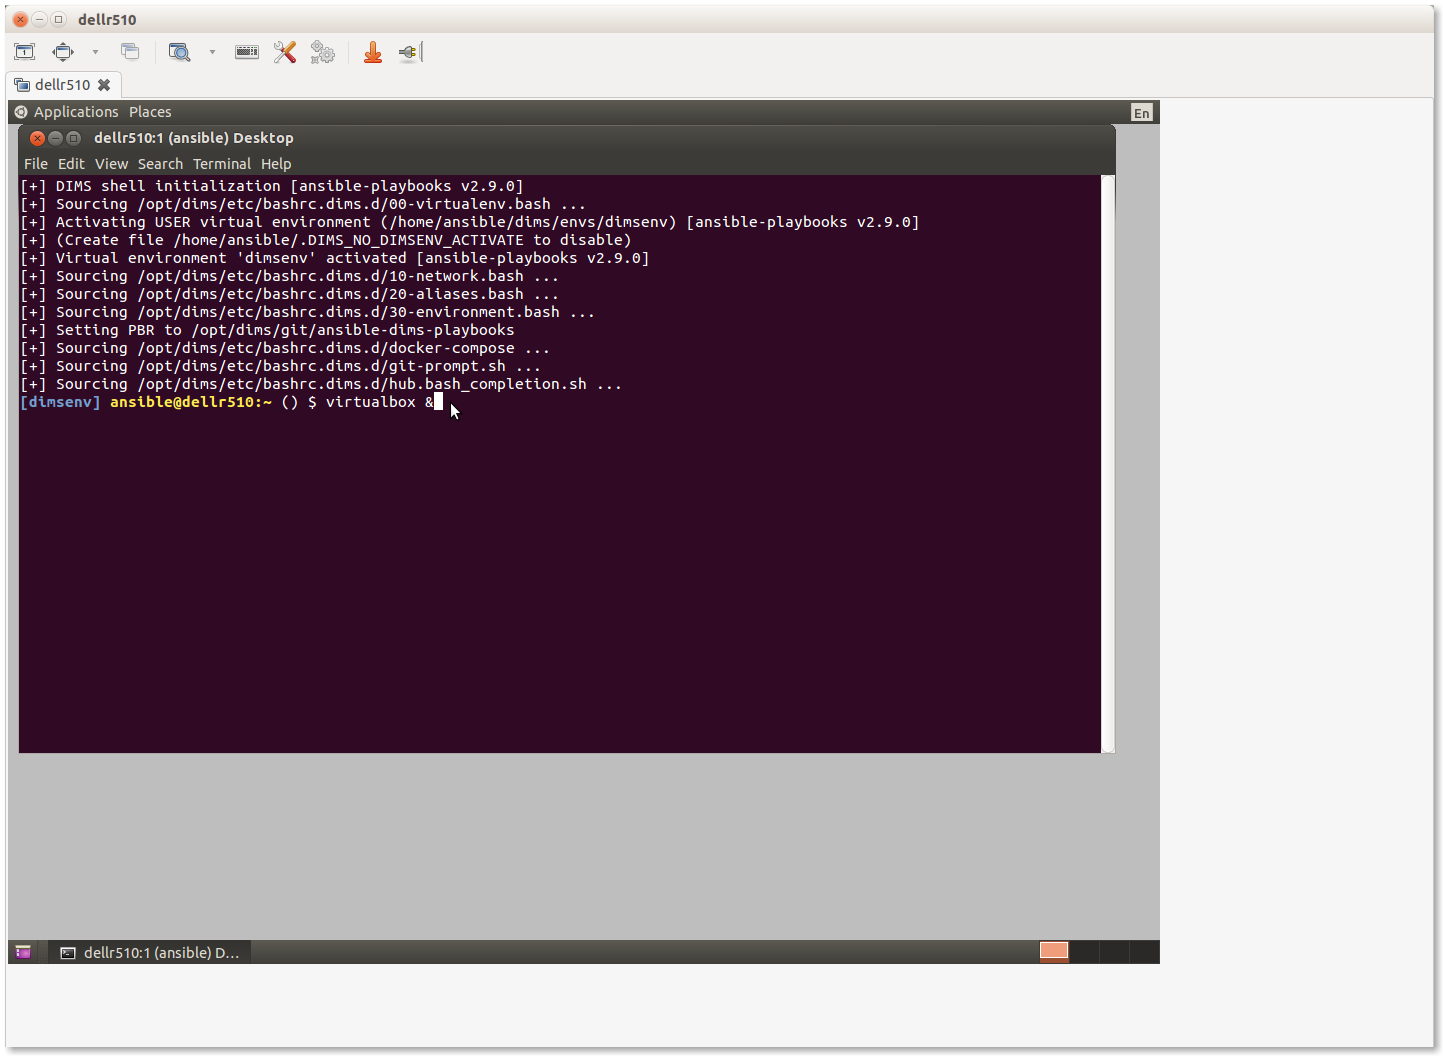
Running Virtualbox management GUI over VNC
This should bring up the Virtualbox management GUI.
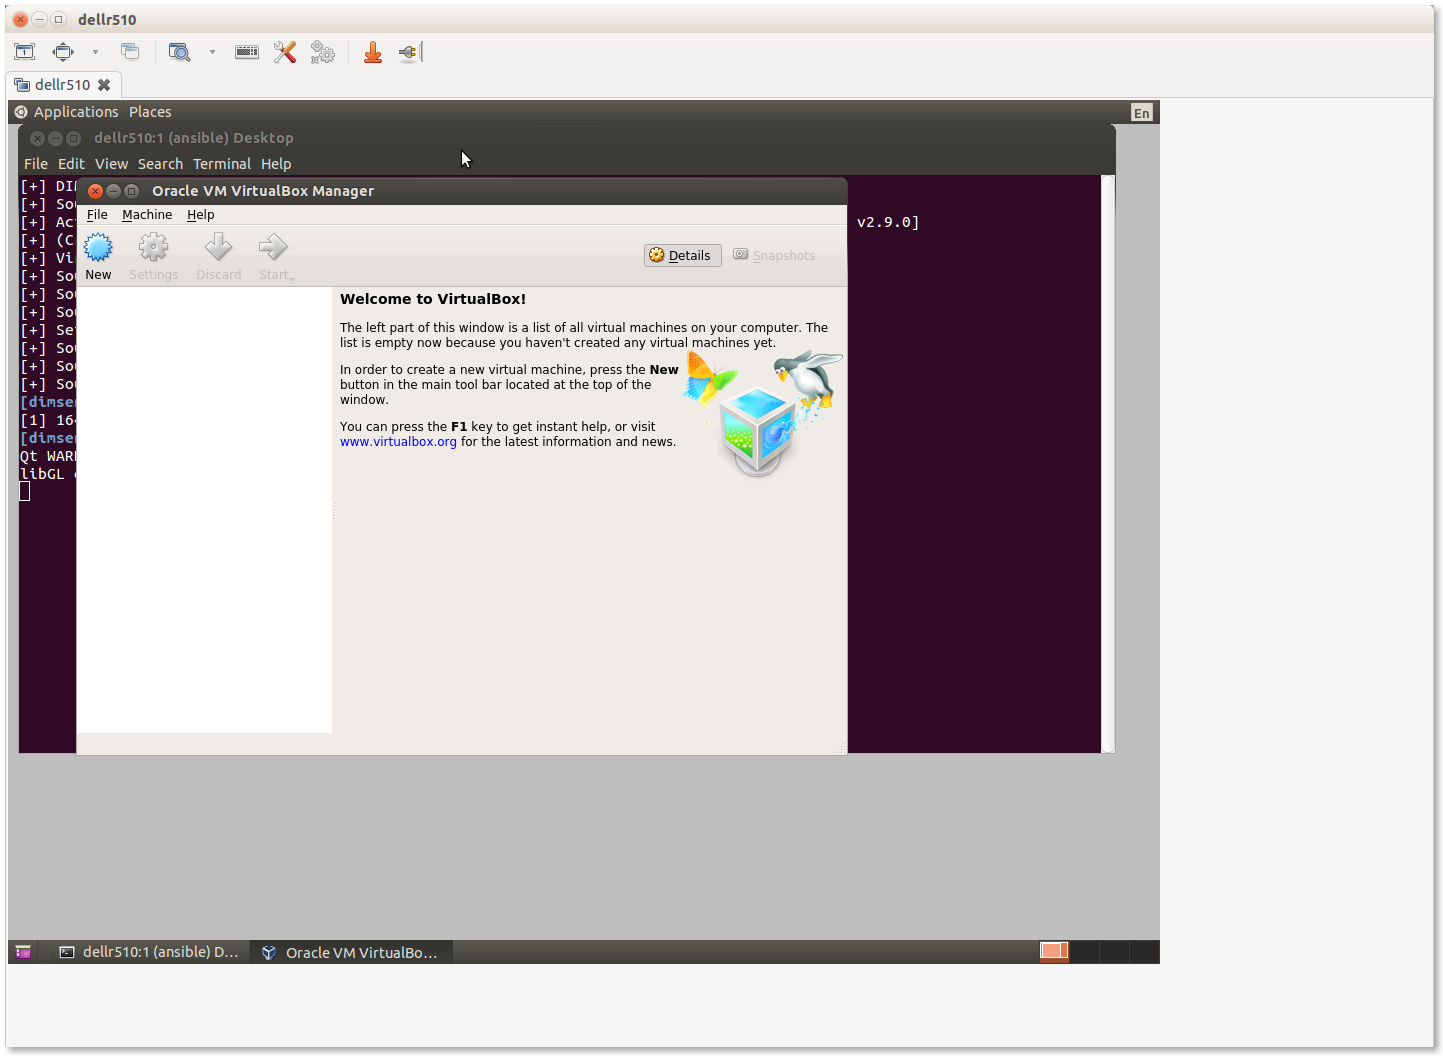
Virtualbox management GUI
Select New to create a new virtual machine. Most tabs have a Next> button to go to the following tab, or select Settings after highlighting the VM you want to configure, or and press the Right mouse button and chose Settings... or use the keyboard shortcut CTRL-S.

Initial yellow VM
Individual groupings of settings (e.g., System for boot order, processor settings, etc., Storage for virtual hard drives, Network for NICs) are on the left of the Settings panel.
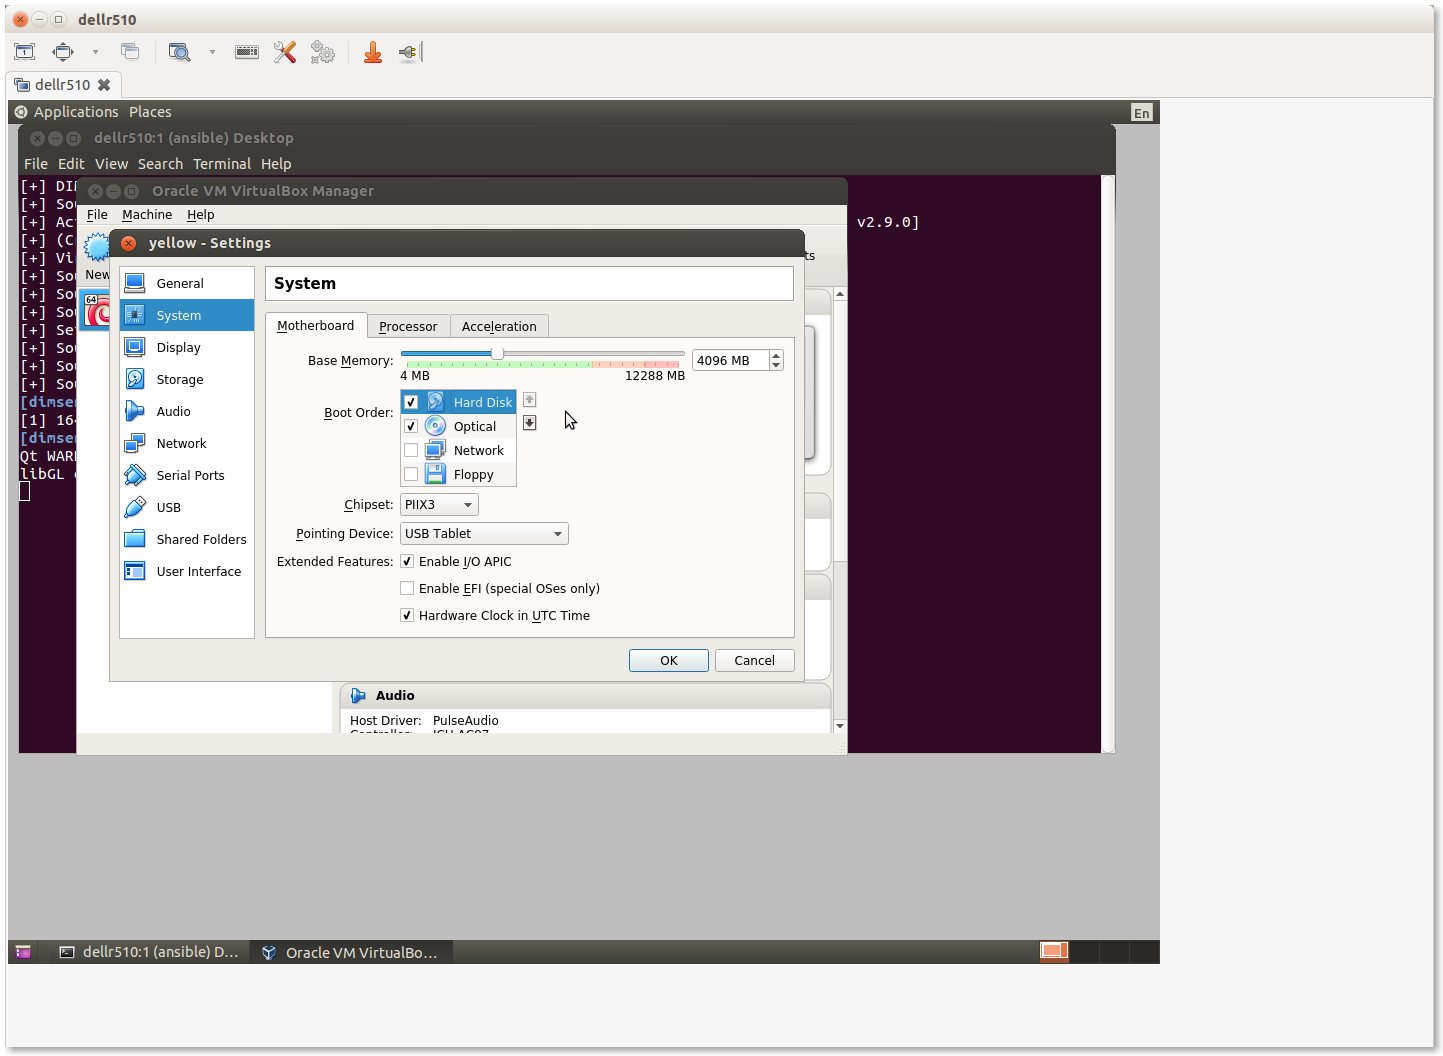
VM System Settings
Navigate through the menus to set the following attributes:
Set Name:
yellowSet Type: Linux
Set Version: Ubuntu (64-bit)
Set memory (e.g., 4096 MB)
Create a virtual disk, type VDI (VirtualBox Disk Image), dynamically allocated, making it generously large in relation to available disk space to provide adequate storage space for Trident upload files (e.g., 200GB).
Configure three NICs:
- Adapter 1 should be attached to NAT to provide host-only access with NAT to get to the Internet while setting up the VM.
- Adapter 2 should be attached to Bridged Adapter, name
em2in this case. (This is the host NIC attached to the internal VLAN in this configuration). This interface in the guest (eth1) will be used for local Ansible control and communication with internal hosts.- Adapter 3 should be attached to Bridged Adapter, name
em1in this case. (This is the host NIC attached to the Internet in this configuration, which will be set to0.0.0.0to prevent direct communication from the Internet to the VM host using this interface). This interface in the guest (eth2) will have the public IP address for the Trident portal, email delivery, etc.Set the system boot order to be Hard Disk first, followed by Optical drive. The first boot with an empty hard drive will boot from the Optical drive, while subsequent reboots will use the operating system installed on the Hard Disk.
Increase the number of CPUs (for a 16 core VM host, 3 or 4 cores is reasonable.)
Note
All of these settings can be tuned later on if it is determined that they
are too low (or too high). Use a program like htop on the virtual machine
host to watch things like CPU saturation, memory saturation, swap usage,
etc.
After configuring the first VM yellow, produce a full clone of the VM and
name it purple. This will be the backup Trident server. Check the box to
regenerate MAC addresses for the network interfaces to ensure that they are
separable at the packet level in case network diagnostics need to be performed
using tcpdump or other network tools.
Once both of the VMs are set up, start them to boot from the Debian installation ISO attached to the virtual DVD drive.
Note
We are not using Kickstart here, as we did for the baremetal host in Section Bootstrapping a VM Host as an Ansible Controller, which means that a number of steps that were automatically performed during system installation will need to be performed manually. This is an area of automation that needs further work to unify and standardize the boot process using Kickstart from Jinja templates and inventory variables, allowing a consistent, configurable, repeatable, and much faster system setup. This will result in time and cost savings that scale better and help new teams more quickly deploy a full system.
- Use LVM on the entire drive, with separate partitions for
/tmp,/home, and/var. - Choose Debian desktop environment, with Gnome, de-select print server and select SSH server, leaving standard system utilities selected, and press Tab and Enter to Continue.
- Create the
ansibleaccount using the password you created for this deployment. Also set therootpassword (ideally to a different password than theansibleaccount, to be used for emergency console access when and if something disables access to theansibleaccount.)
At the end of the operating system installation process, it will ask you to reboot. The guest should then show the Grub boot menu and proceed to boot into Debian, presenting the login screen when the system is up and running.
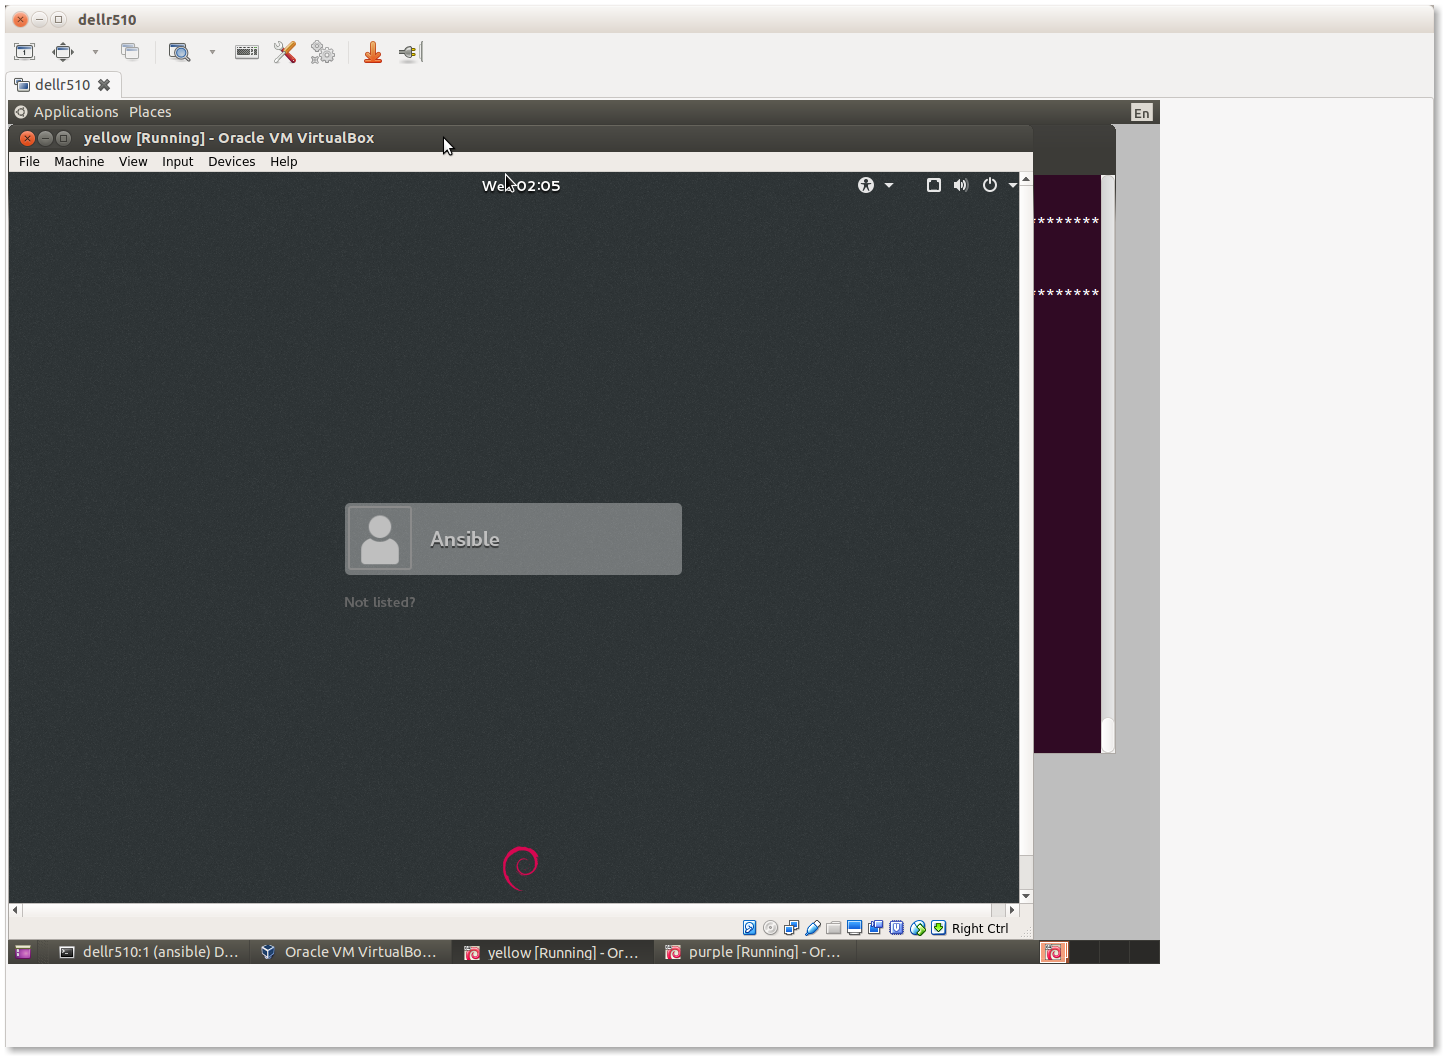
Login screen for yellow VM
4.2. Bootstrapping the New VMs
Before you can perform the bootstrapping process using Ansible, you must configure at least one network interface on each VM guest (as well as setting an IP address in the same network block on the bridged interface of the host) to allow host-to-guest SSH access.
Manually edit the /etc/network/interfaces file to configure the initial
eth1 NIC to have the IP addresses assigned for the hosts in the inventory
file. Bring the interface up using ifup eth1 and test after setting up all
of the interfaces using the same steps as shown in Section
Establishing Full Internet Connectivity.
Once connectivity has been verified, apply the bootstrap.yml playbook
as shown in Section Bootstrapping Full Ansible Control, using the
trident group this time to bootstrap both VMs at the same time.
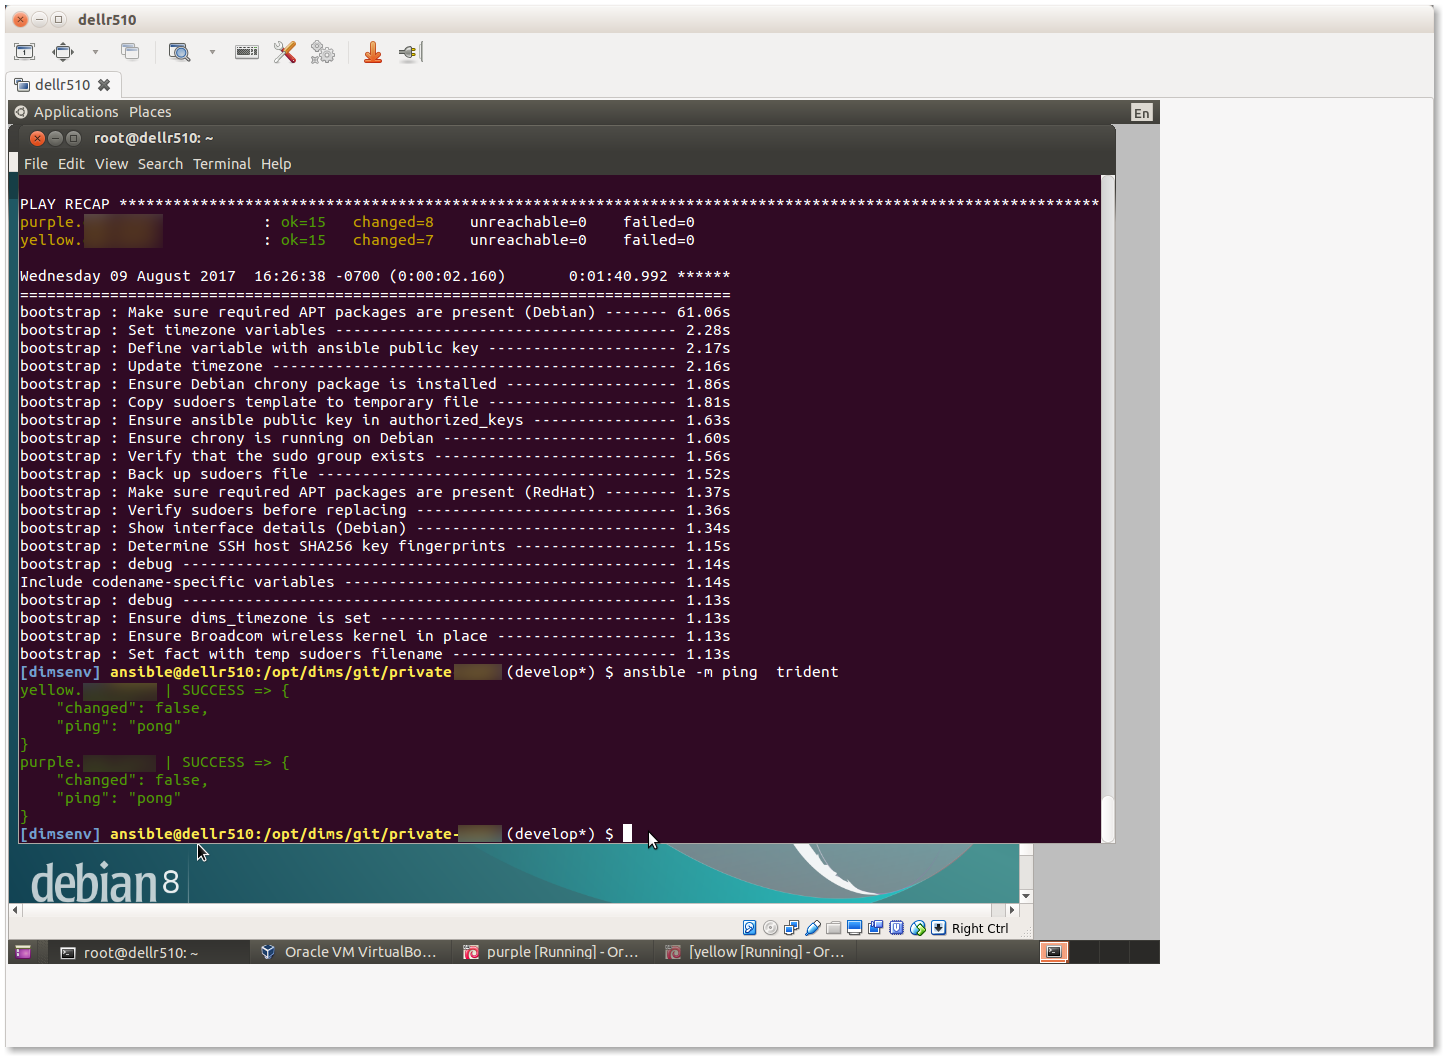
Bootstrapping the trident group
4.3. Initial Provisioning of the New VMs
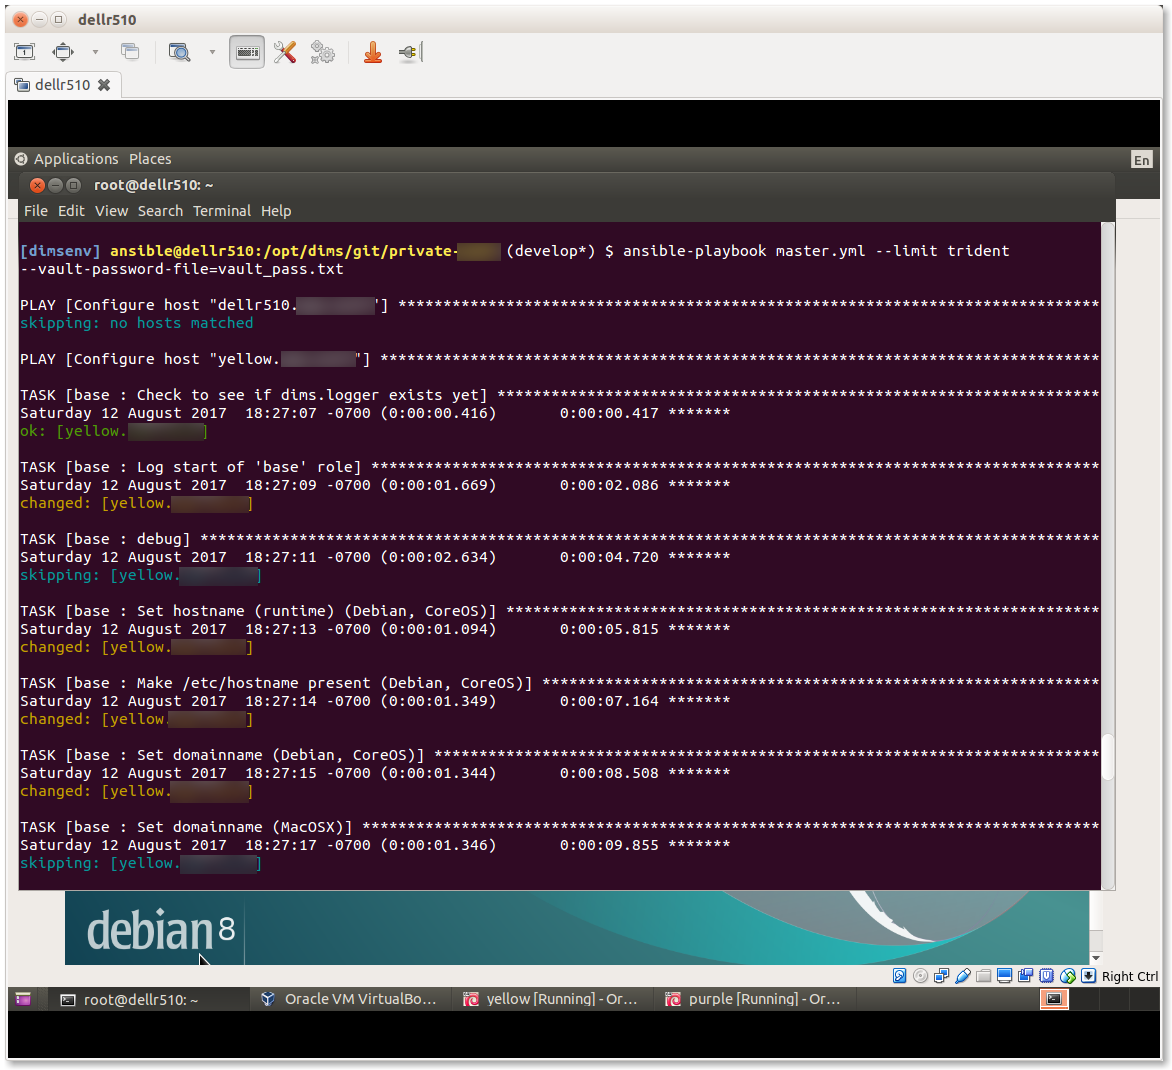
Lastly, we will run the initial provisioning steps to install and configure
the two new VMs. For the purposes of this example, we will start by only
applying the base role tasks to make sure the fundamentals of our
customized configuration will work. The command we use is:
$ ansible-playbook $GIT/private-develop/master.yml --tags base --limit trident
Applying base role to trident group
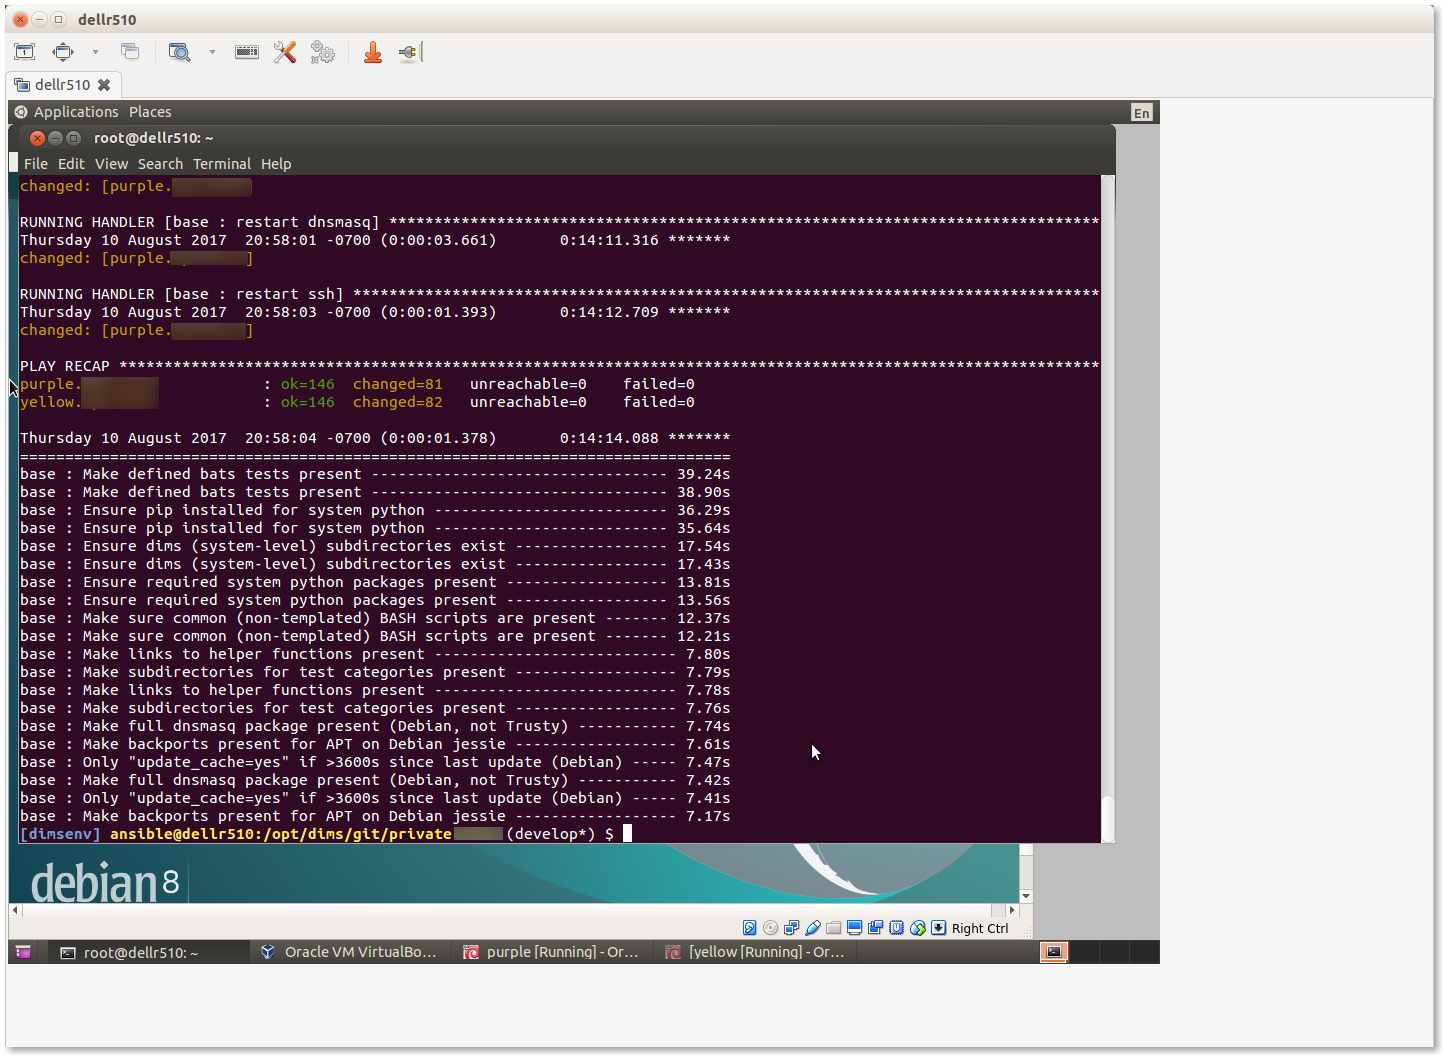
Having applied the base role, network interfaces are set up,
iptables rules are in place, /etc/hosts file and DNS
resolution are configured, and packages have been updated. This would
be a good time to reboot both systems to ensure everything is applied
and functions. You can use Ansible ad-hoc mode to do this with
the command:
$ ansible -m shell --become -a 'shutdown -r now' trident`
After a minute or two, you can test connectivity again with the command:
$ ansible -m shell -a 'uptime' trident`
purple.devops.develop | SUCCESS | rc=0 >>
 14:22:33 up 0 min,  1 user,  load average: 0.86, 0.22, 0.07

yellow.devops.develop | SUCCESS | rc=0 >>
 14:22:33 up 0 min,  1 user,  load average: 0.79, 0.25, 0.09
At this point, the hosts are ready for application of their full playbooks.
Use --limit trident when running the master.yml playbook to only
operate on the two VMs in question.
Note
If Ansible Vault is being used to encrypt any secrets on disk, you will
need to either provide the password using the --ask-vault-pass
command line option or provide a path to the Vault password file
using the --vault-password-file command line option. We will use
the latter in this example:
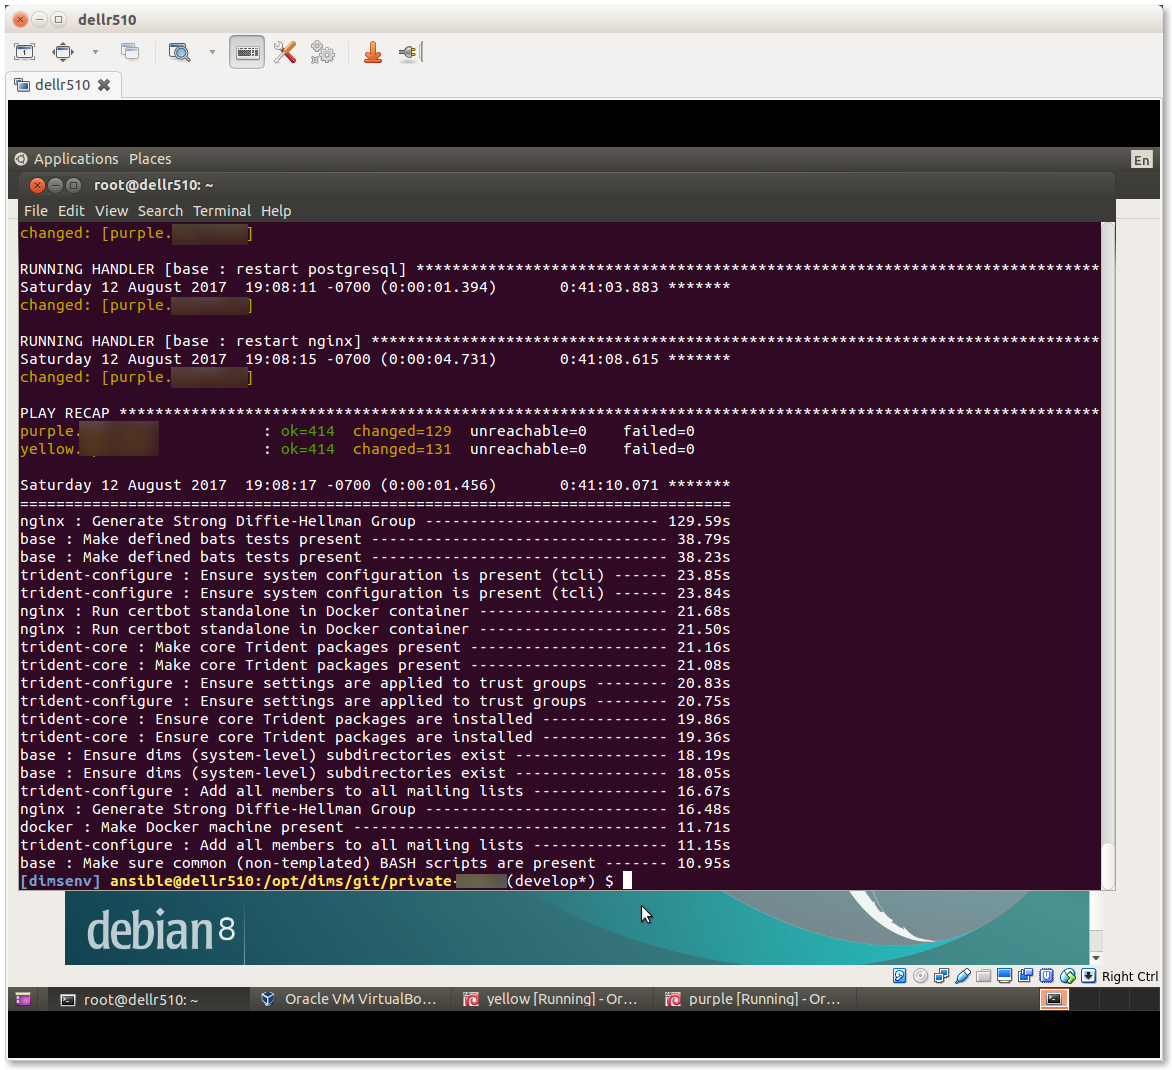
Applying full playbook to trident group
Attention
The nginx role is designed to support use of Letsencrypt for SSL
certificate generation. Because Letsencrypt imposes a limit on the number of
certificates that can be generated for a given DNS domain name per week,
the default is to use the “staging” facility (i.e., the default is
certbot_staging: yes globally.) It may take a few full playbook
runs to ensure that all variables are defined and set properly, which
could exhaust the limit of certificates if the default was to generate
real certificates each time the nginx role gets applied.
After you are sure things are working properly, edit the
inventory/trident/nodes.yml file and change the setting to
certbot_staging: no and apply the nginx role one more time to get
valid certificates.
Once valid certificates have been generated once, you can create a backup
that can be restored later for development testing purposes in case you
have to destroy the /etc/letsencrypt directory and start again (as
occurs when using Vagrants and doing vagrant destroy, or terminating
virtual machines in cloud service providers.) This process is described
in Chapter Creating a Backup.
Summary of full playbook run
This completes the installation of the two VMs.
Attention
As these VMs were created using a NAT interface, but are meant to normally
operate using a bridged adapter for Internet facing access to the portal
and for email processing, one last configuration change is to disable the
eth0 NAT interface so its DHCP assigned default route does not conflict with
the default gateway setting of the eth2 interface. To do this, you will
need to go the Settings tab, then unselect Cable connected for
Adapter 1 on each VM as shown in Figure Disconecting cable to NAT interface.
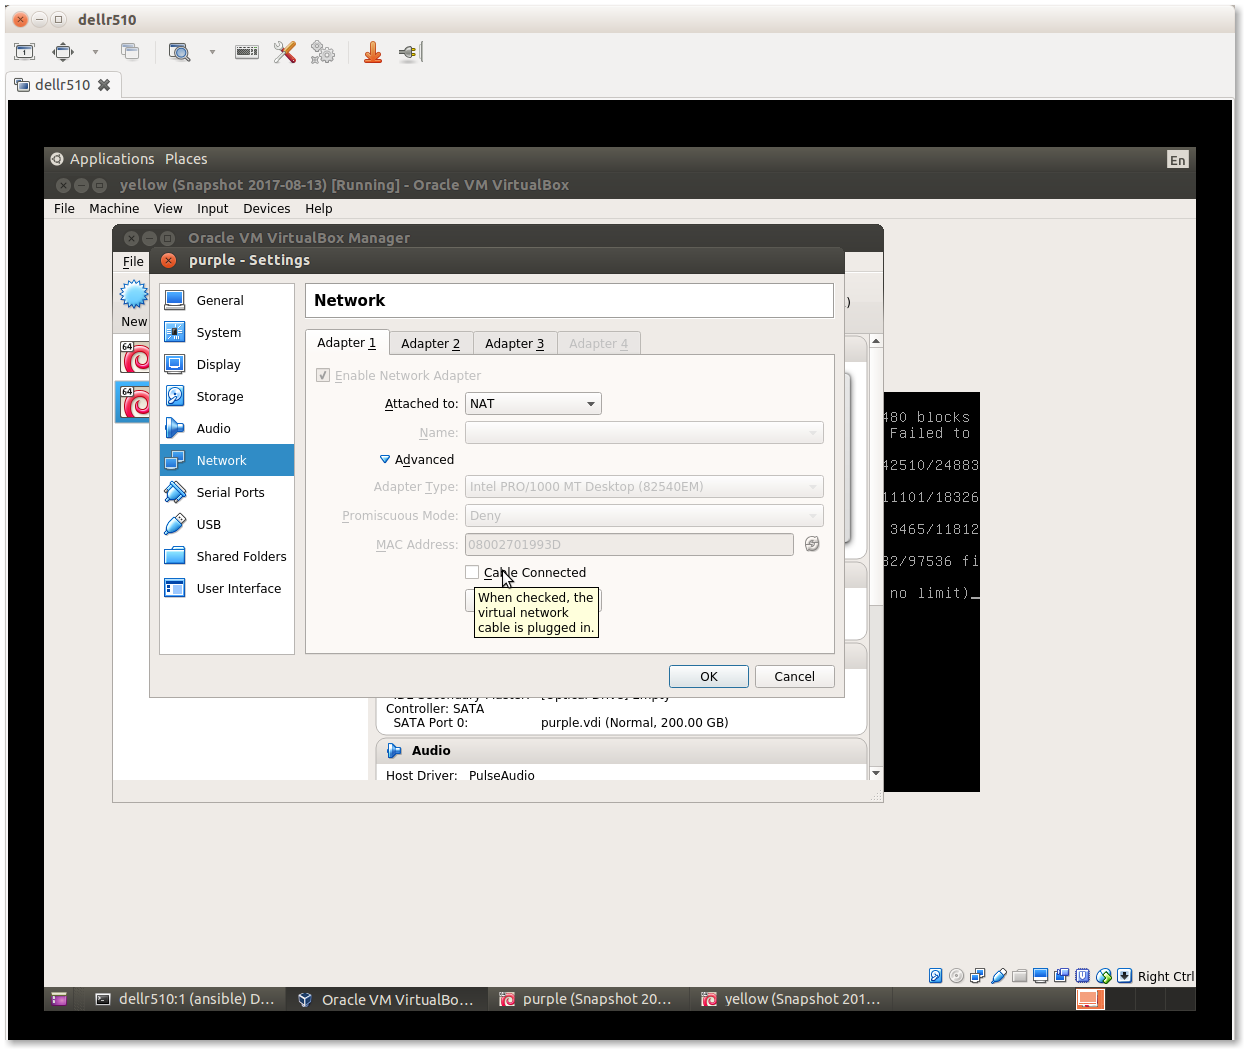
Disconecting cable to NAT interface
At this point, it would be a good idea to create snapshots of the VMs in this initial working state to have something to fall back on in case of mistakes at a later date. This is shown in Figure Creating Snapshots in Virtualbox and the steps to perform are described in How to use snapshots in VirtualBox and the Virtualbox document, Chapter 1. First steps.
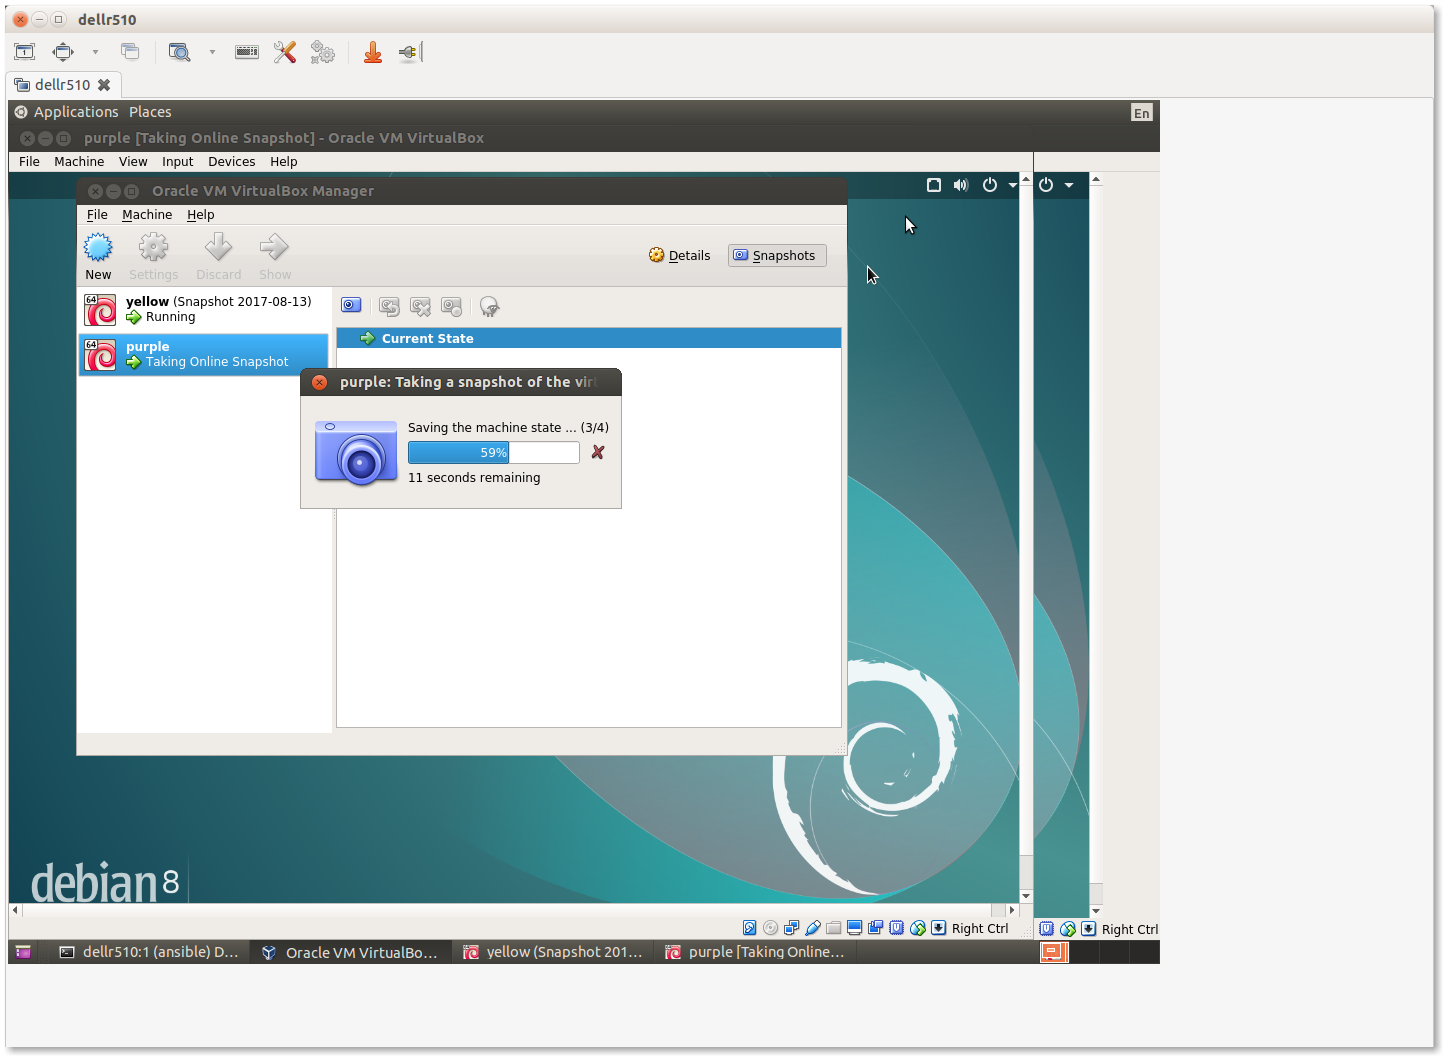
Creating Snapshots in Virtualbox